
Plant Care
Beginner's Guide to Caring for Nursery Plants
SN
Sugandha Horticultural Experts
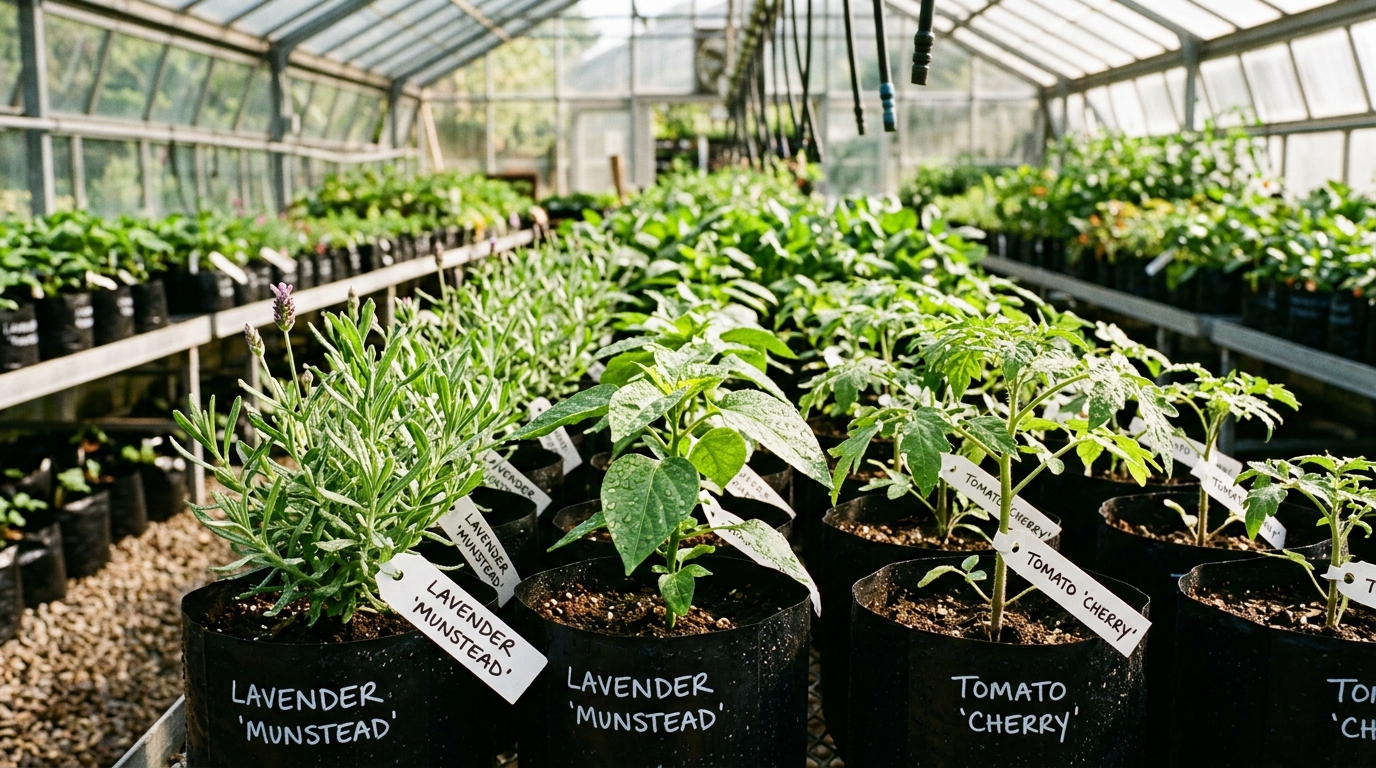
Bringing home fresh plants from the nursery requires a gentle transition. Discover essential steps for acclimatization, repotting timing, root shock prevention, and initial watering.
Walking through a commercial plant nursery is an intoxicating experience—hundreds of flourishing varieties under climate-controlled shade nets. But bringing a plant home introduces it to a completely different environment. Here is how to ensure your new green companion adapts seamlessly.
### Step 1: Give Your Plant an Acclimatization Period (3 to 5 Days)
When you first bring a nursery plant home, resist the urge to immediately repot it into a decorative ceramic or terracotta container. The journey from the nursery bench, combined with changes in temperature, humidity, and light intensity, places the plant in mild stress.
Place the plant in a bright spot away from direct midday sun and drafts. Let it rest in its original nursery grow bag or plastic pot for 3 to 5 days so its transpiration rate stabilizes.
### Step 2: Check Soil Moisture Before Watering
Nursery plants are often thoroughly soaked before transport. Check the soil with your index finger; if the top inch feels damp, hold off on watering. Only water when the top layer starts drying out.
### Step 3: Gentle Repotting Technique
When you are ready to repot:
- Choose a container that is only **1 to 2 inches wider in diameter** than the nursery pot. Overpotting traps excess wet soil around small root systems, leading to root rot.
- Ensure the pot has at least one clear drainage hole.
- Loosen the root ball very gently if the roots are circling tightly. Do not violently shake off all native soil.
- Backfill with an airy, well-draining potting mixture rich in organic vermicompost.
### Step 4: The Post-Repot Drink
After potting, give the plant a thorough, deep soak until water drains freely from the bottom. Place it in bright, indirect light for the next week before moving it to its permanent location. Avoid applying heavy chemical fertilizers for the first month while the root system re-establishes.